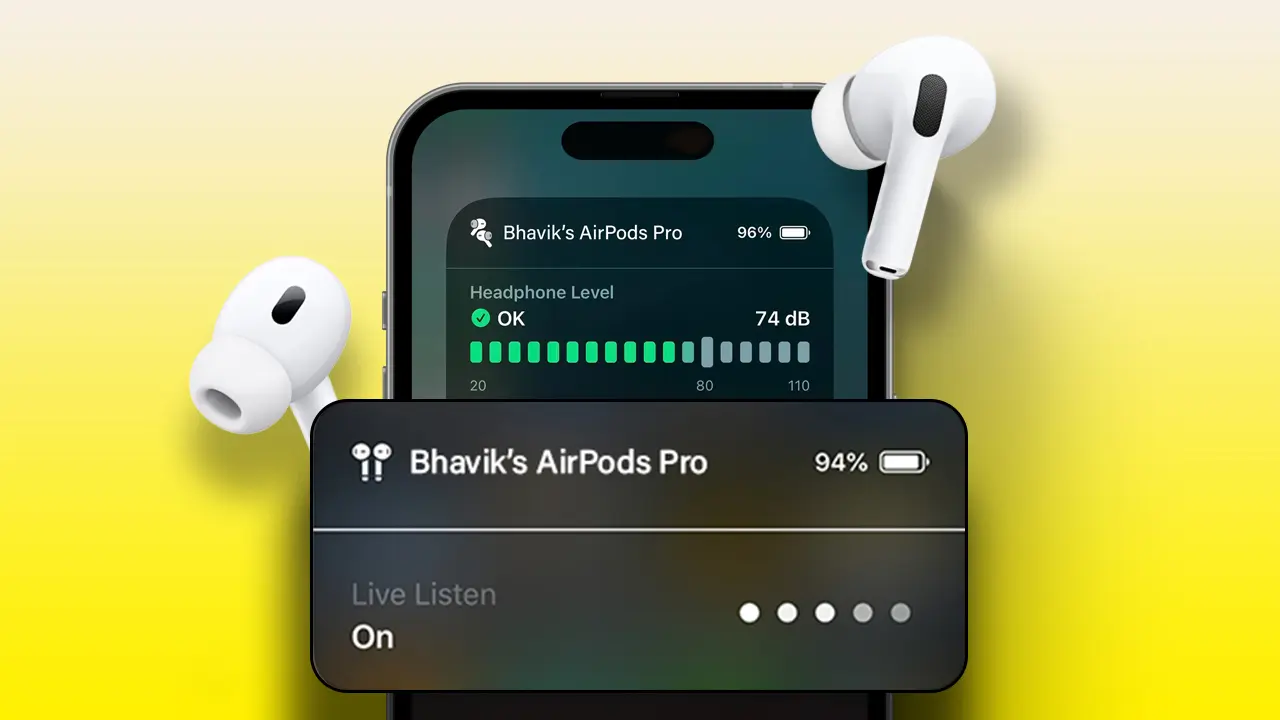
How to Enable and Use Apple “Live Listen” Feature on iPhone in iOS 17

Enable and Use Apple Live Listen Feature on iPhone

Are you struggling to hear in noisy environments or are you hard of hearing? Then Apple’s “Live Listen” feature may be just the solution you need! Exclusively made for iOS users and compatible with AirPods and Beats, this innovative tool turns your iPhone into a personal hearing aid, broadcasting sound from a distance directly into your ears.

In this guide, we will explain how to enable and use the “Live Listen” feature on your iPhone running iOS 17. Whether you want to enhance your everyday listening experience or just want to see what this much-talked-about feature can do, we’ve got you covered.

What is Live Listen in iOS 17?

Live Listen is an Apple feature that turns your iPhone, iPad, or iPod touch into a remote microphone, sending sound directly to your AirPods or compatible Beats headphones. It’s designed to help you hear better in noisy places or over distances and requires iOS or iPadOS 14.3 or later, along with specific compatible devices.

Enable Live Listen feature in iOS 17

How Does the “Live Listen” Feature Work?

Apple’s “Live Listen” feature turns your iOS device into a directional microphone, transmitting targeted sounds to your earbuds or hearing aids via Bluetooth. Useful up to 15 meters away, it’s great for enhancing sounds in meetings, lectures, or as a baby monitor, but its potential for eavesdropping has raised some ethical questions.

Live Listen Feature Supported Devices

This feature works with many Apple devices and requires iOS or iPadOS 14.3 or later. The list of compatible devices is below:

  • AirPods (all variants)
  • AirPods Pro
  • AirPods Max
  • Powerbeats Pro
  • Beats Fit Pro
  • Beats Studio Pro

Use Apple “Live Listen” Feature on iPhone in iOS 17

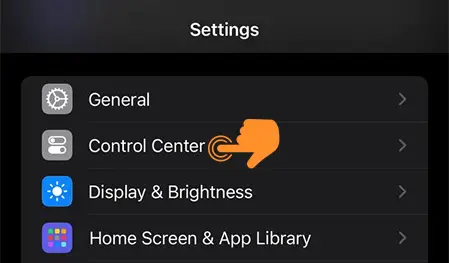
  • Connect your AirPods, or Beats to your iOS device. Now, Open the Settings app, scroll down a bit, and tap “Control Center“.
Tap on Control center in settings app
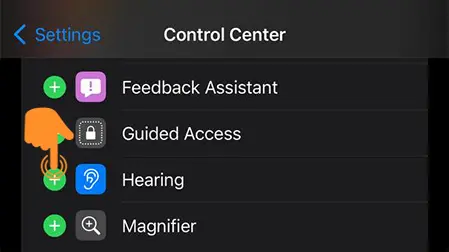
  • Scroll down to More Controls and tap the green plus symbol next to Hearing to add it to your Control Center (necessary for the use of this feature).
Click on Add button to add Hearing on control cernter
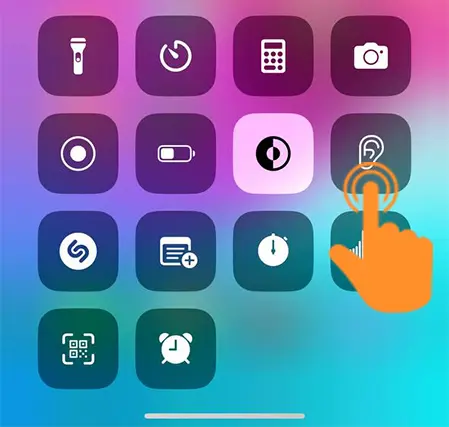
  • Swipe down from the top right of your display to open the Control Center, then tap and hold the “Hearing icon“.
Tap on Control center hearing option
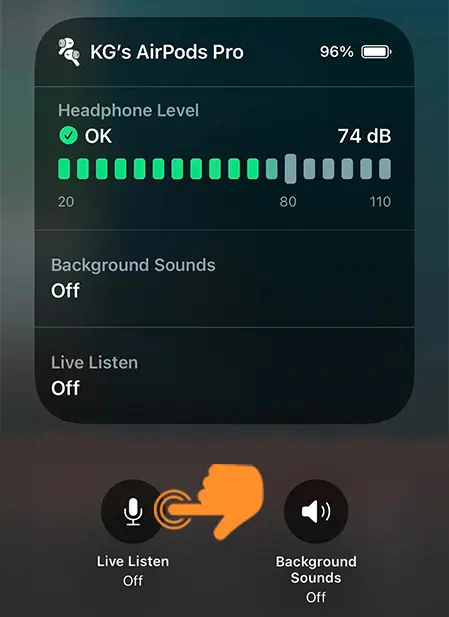
  • Tap on the Hearing button and select “Live Listen“.
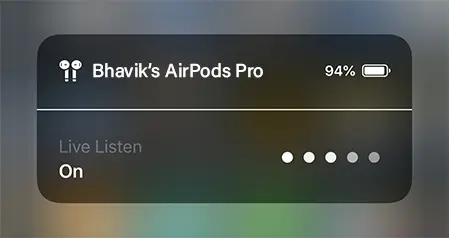
  • Position your iOS device near the audio source you want to hear. Live Listen will now be on, and you’ll see a decibel meter on your device displaying the volume of sound coming through your AirPods. Enjoy your enhanced hearing experience!
Tap on Live Listen to enable Live Listen

How to Remove the Hearing Icon from Control Center

Open the Settings app > tap Control Center > tap the red minus symbol next to Hearing to remove it from your Control Center > tap on the Remove button.

Remove Hearing Icon from Control Center

Listen Better…

That’s it! Apple’s “Live Listen” feature brings powerful hearing aid functionality to compatible iOS devices, offering flexibility in various settings. Though simple to set up and utilize, users should be mindful of potential ethical concerns related to eavesdropping. This feature represents an innovative approach to enhancing your audio experience.

Posted by
Bhavik Chauhan

I'm Bhavik Chauhan, a tech-savvy fan of all things Apple. I'm an expert in writing tech content, having written over 200 articles on products such as the iPhone, iPad, and Mac. When I'm not busy analyzing the latest gadgets or studying marketing campaigns, you can find me gaming or watching the latest movies. Follow me for a unique mix of tech info and real-world gadget guidance.

Leave a Reply

Your email address will not be published. Required fields are marked *