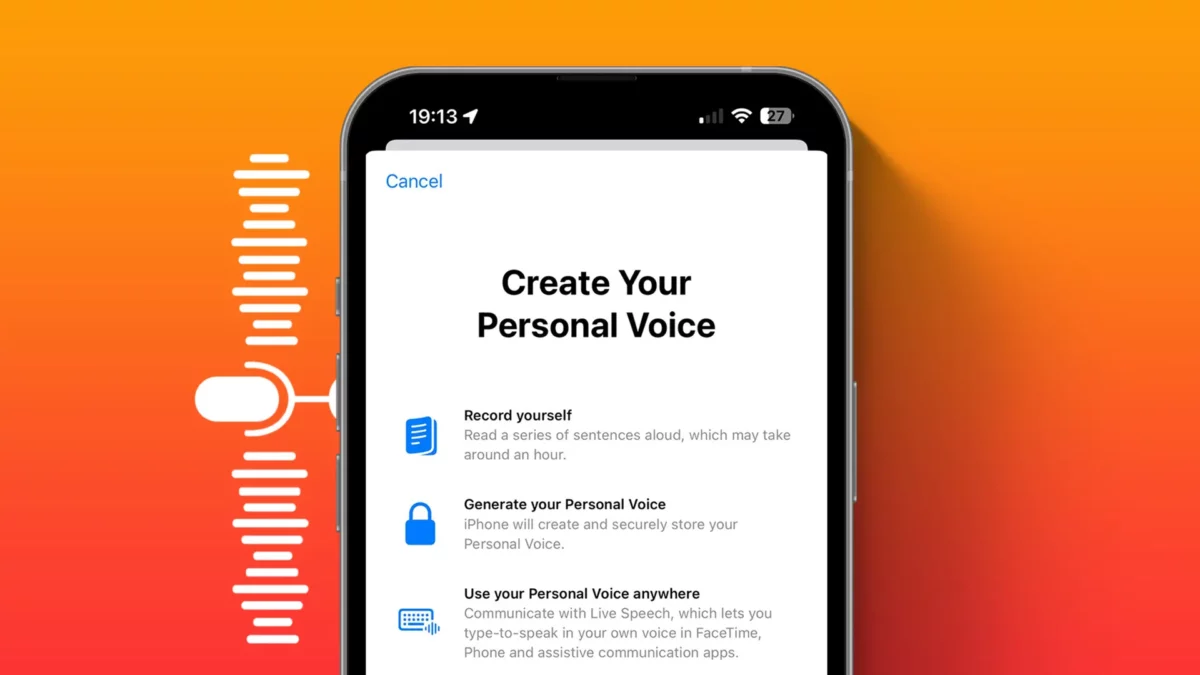
- Personal Voice is a feature in iOS 17 that lets you create a digital voice that sounds like you.
- You can use your personal voice to type text or select predefined phrases to speak out loud in your voice.
In 2024, AI technology is booming, and Apple is also working on iOS 18 with AI features. In a previous update, Apple released a new Personal Voice feature on the iPhone. You can create your own voice as a Siri assistant and use it for speech-to-text.
There are many AI text-to-speech tools available in the market, but they all charge a high monthly fee. But if you own an iPhone, you can use this same feature using your default Personal Voice feature.
If you don’t know how to set this up, how to use it, and where you can use it, don’t worry. I will show you everything related to Personal Voice. So let’s get started.
What is Personal Voice on iPhone?
Personal Voice is a new feature in iOS 17 that lets you create a digital voice that sounds just like you. To create your voice, you need to read out a series of random text phrases for 15 minutes. Once the process is complete, your device will use your voice data to generate a personalized voice model.
You can use your personal voice to type text or select predefined phrases to have them speak out loud in your voice.
How to Create Personal Voice on iPhone
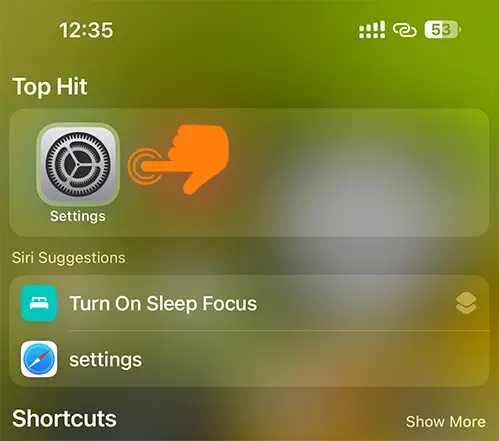
Step 1: Open the Settings app on your device.
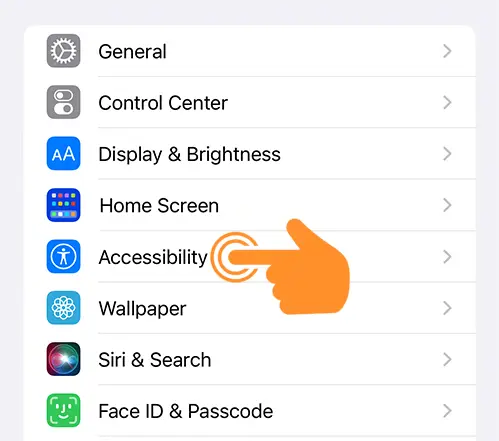
Step 2: Tap on Accessibility.
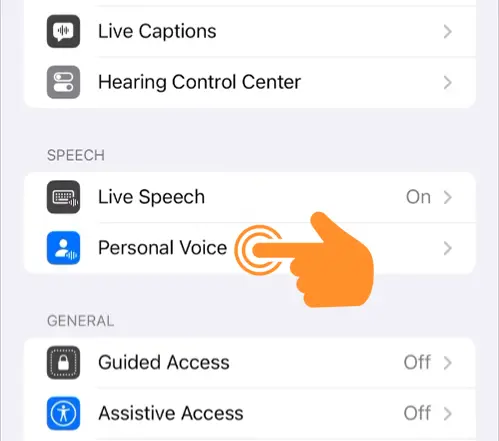
Step 3: Open Personal Voice.
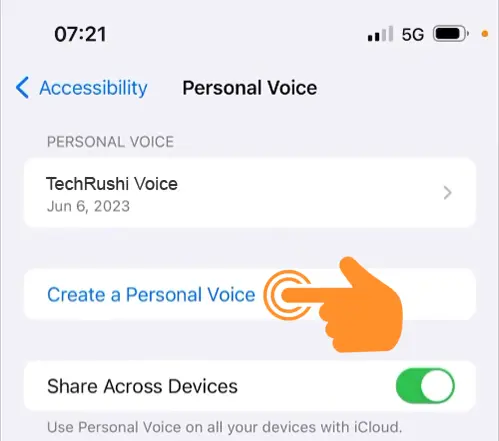
Step 4: Choose “Create a Personal Voice.”
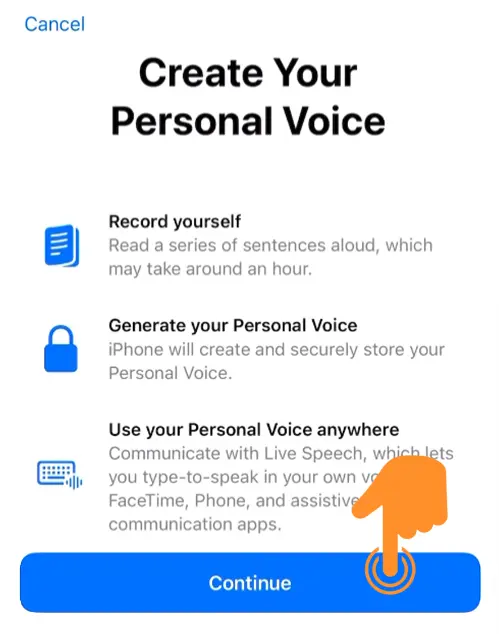
Step 5: Tap on the continue button at the bottom of the screen.
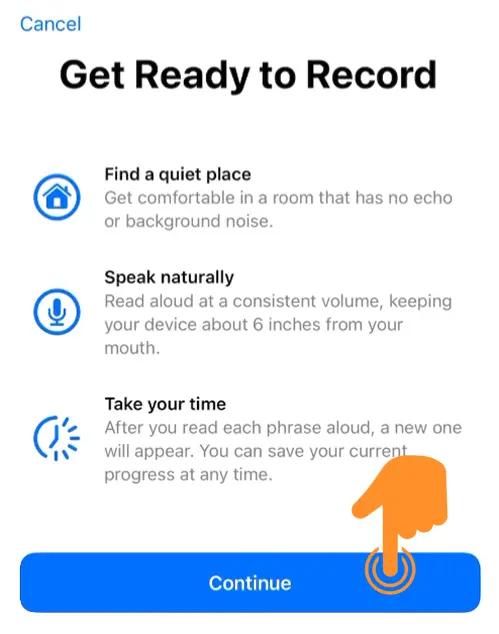
Step 6: On the “Get Ready to Record” screen, tap continue.
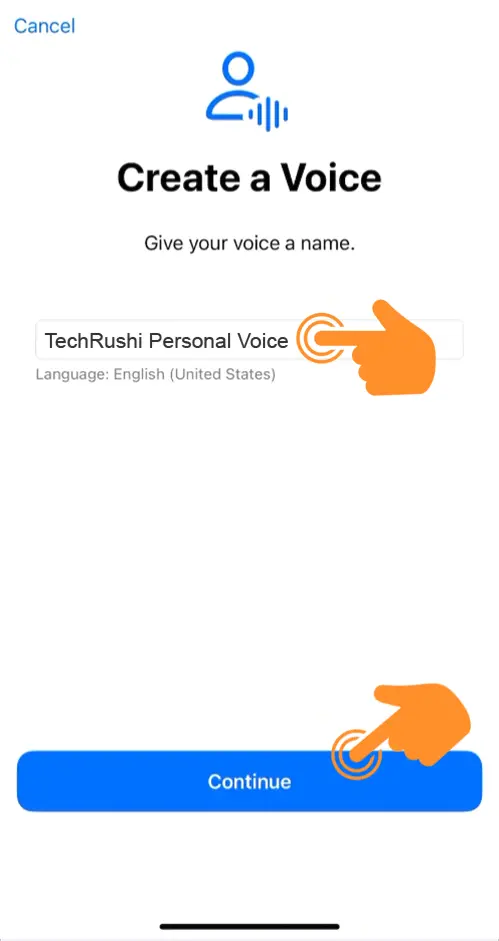
Step 7: A new screen will appear asking you to give your voice a name. Enter a name that you can easily remember, then tap continue.
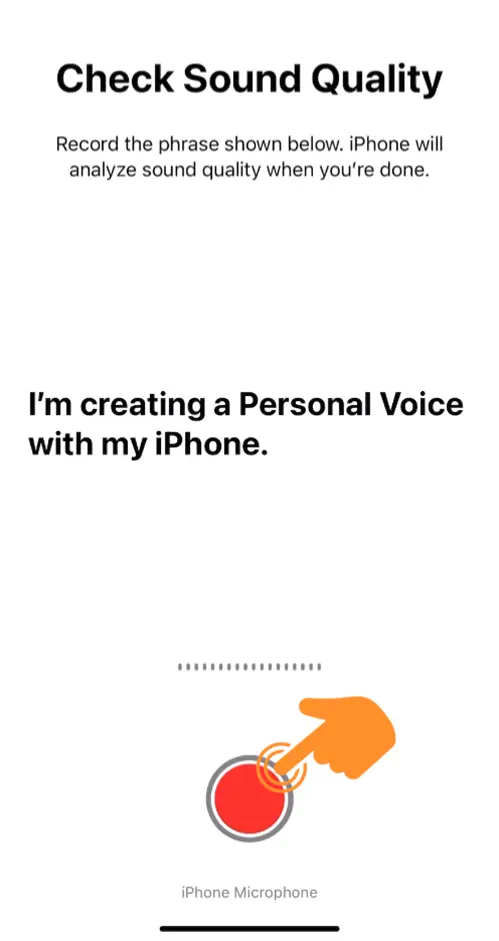
Step 8: On the next screen, when you’re ready, tap the record icon and read the provided phrase aloud in a quiet environment.
Step 9: After completing the first phrase, a “Recording Considerations” screen will appear. You can tap the “Listen” button to hear your recorded voice. If there is any background noise, you can tap “Check Again” to re-record your voice. Once you’re satisfied with the recording, tap continue.
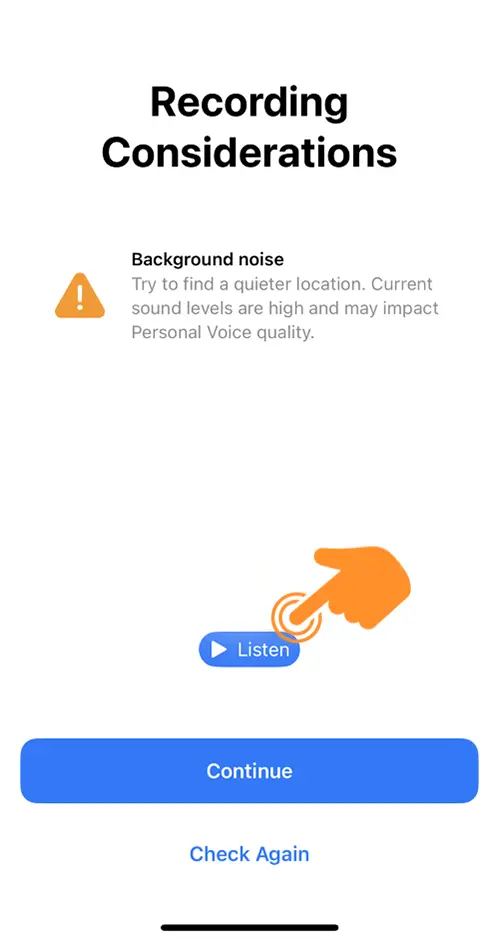
Note: Background noise can completely alter your audio quality, and may not mimic the sound of your voice. So record your voice in a silent place.
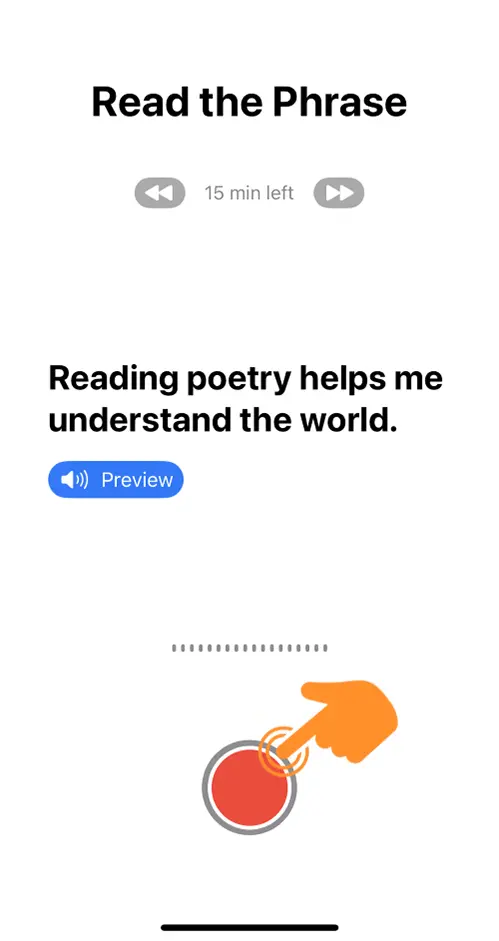
Step 10: Repeat the same steps and continue recording your personal voice for about 15 minutes.
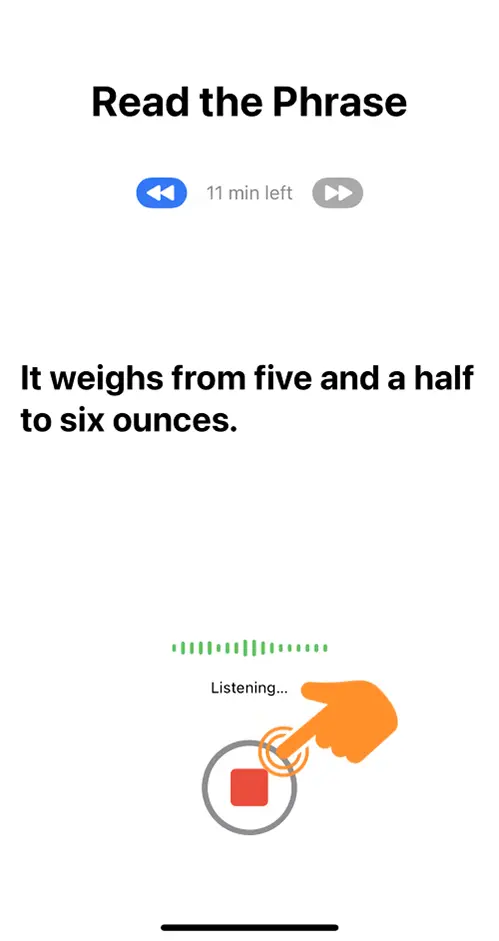
Step 11: You can tap the stop icon at any time to finish recording.
Step 12: Once you’re done, a “You’re Done Recording” screen will appear. Tap continue.
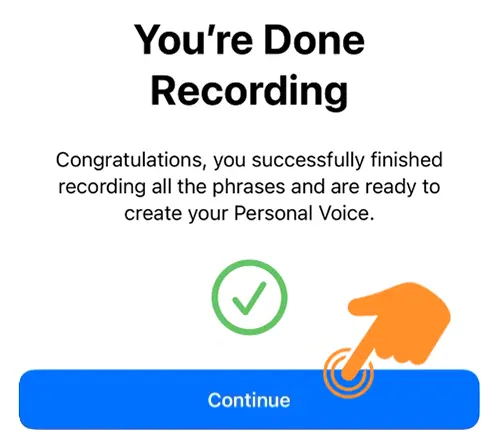
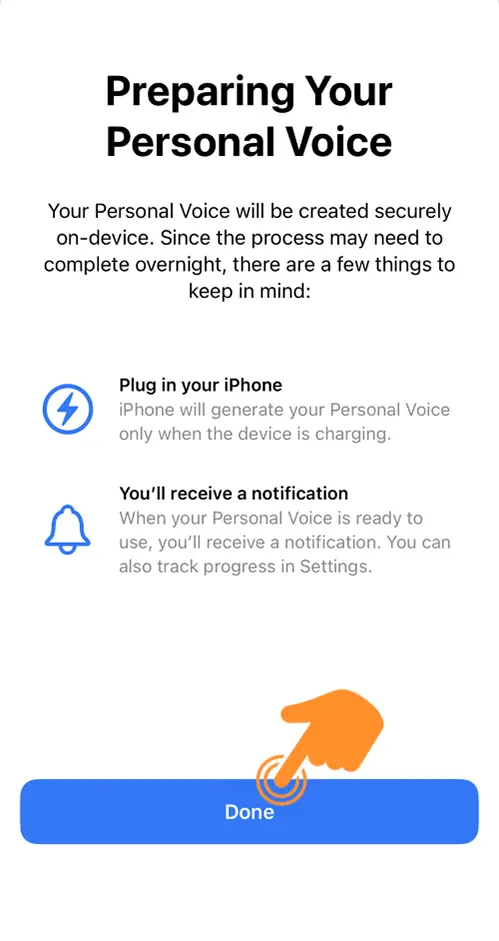
Step 13: Your recordings will be securely saved on your device. You will receive a notification when your Personal Voice is ready to use. You can plug in your iPhone to begin the processing immediately, which will take up to an hour. Tap Done when you’re ready.
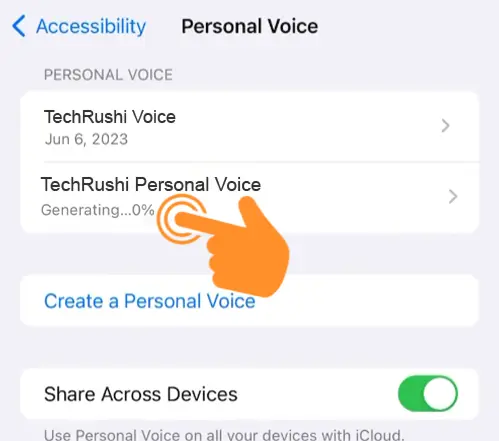
Step 14: To track the status of your generated voice, go to the Personal Voice section.
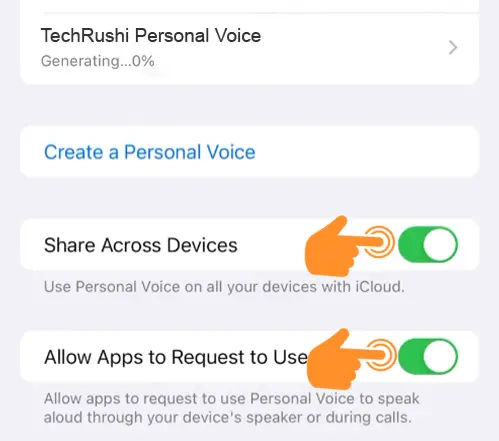
Step 15: Finally, turn on the “Share Across Devices” and “Allow Apps to Request to Use” options to enable the use of your Personal Voice on your iPhone.
How to Use Personal Voice on iPhone
Step 1: Go to Settings > Accessibility and tap on the Live Speech option.
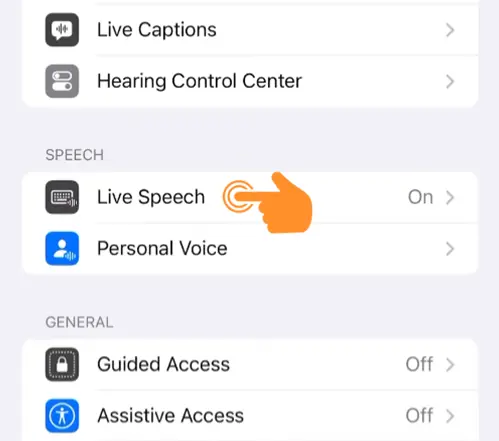
Step 2: Look for the Live Speech option and enable it.
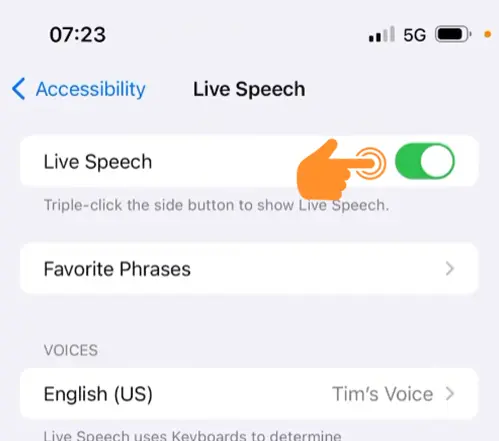
Step 3: Tap on “Language” under the VOICES.
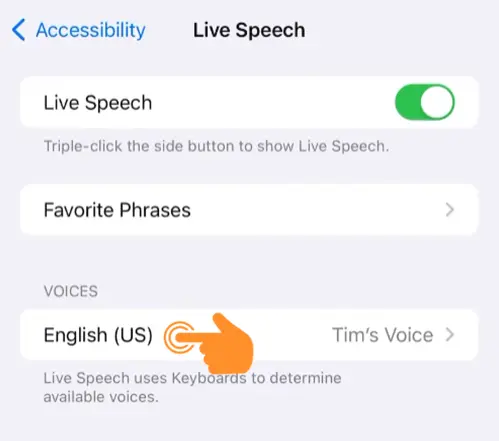
Step 4: Click on “Personal Voice.”
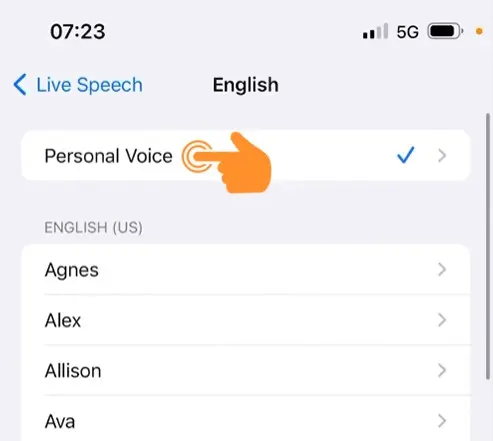
Step 5: Select the “Personal Voice” option. (Note that it will only appear once the voice generation process is completed.)
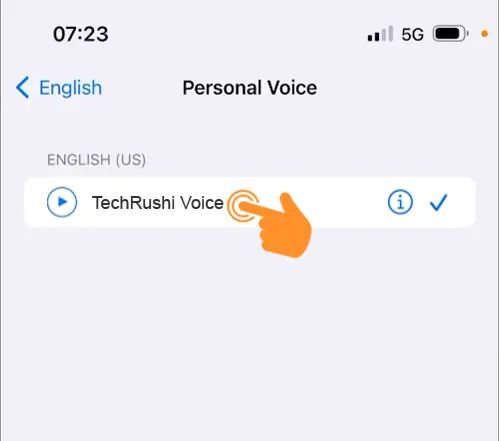
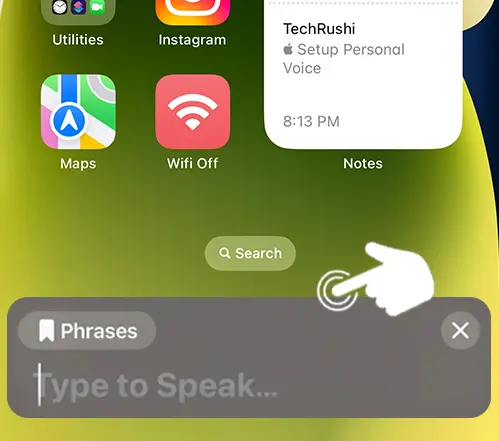
Step 6: Now, press the side button on your device three times. This action will open the “Type to Speak Phrases” bar. In the provided bar, type anything you want to hear in your Personal Voice on your iPhone.
FAQs
Can you use personal voice for Siri?
Yes, you can definitely change your Personal voice as a Siri assistant.
How long does personal voice take to generate?
The personal voice generation process can take up to an hour.
I hope this guide helps you create an AI-generated personal voice on your iPhone. According to me, this feature is very useful if you don’t like Siri’s voice or any other built-in voice for speech-to-text.
Have you tried this feature on your iPhone? Let me know in the comments below.
