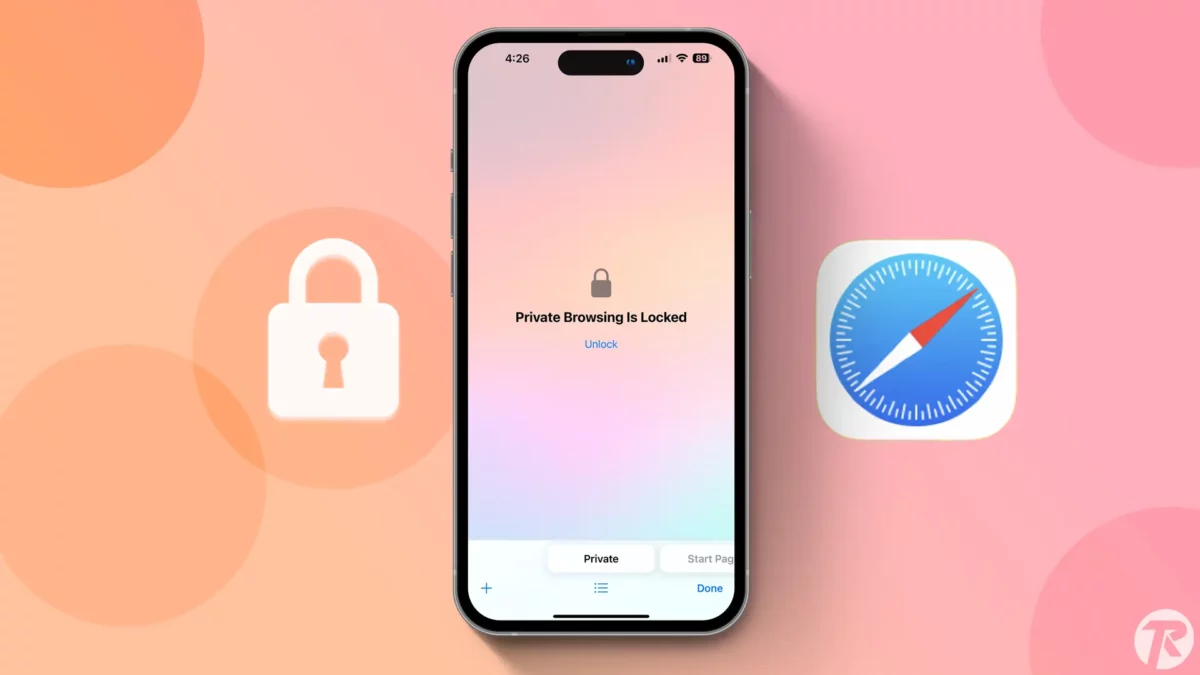
- Open iPhone Settings > Safari > Activate “Require Face ID to Unlock Private Browsing”.
- Using Private Browsing mode in Safari secures your private searches from prying eyes.
Every year, Apple enhances their device security and privacy with new iOS updates. The latest update in the Safari browser has improved your web surfing experience in private tabs. Now, you can lock Safari Private Tabs using your Face ID and Touch ID.
If you’re unsure how this works, this article will guide you on how to lock Safari private tabs and secure your searches from prying eyes.
This new privacy feature is now available on almost all Apple devices, including iPhone, iPad, and Mac. It’s designed to provide an extra layer of security for your browsing activities. It protects your Safari searches by requiring Face ID verification every time you start Private Browsing mode.
Steps to Lock Safari Private Tabs
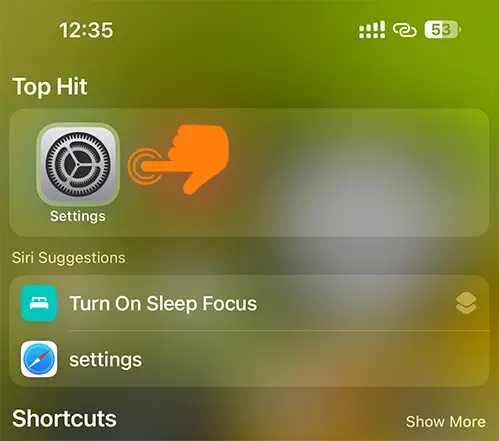
Step 1: Open the iPhone Settings app.
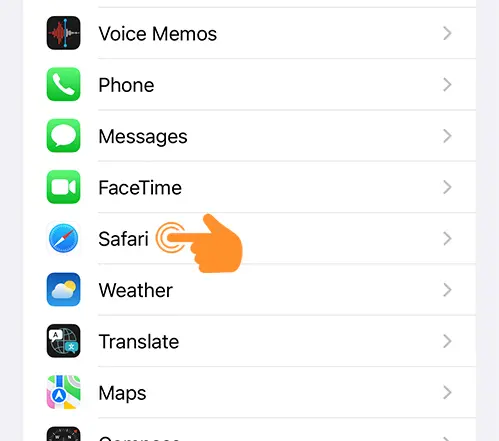
Step 2: Tap on Safari.
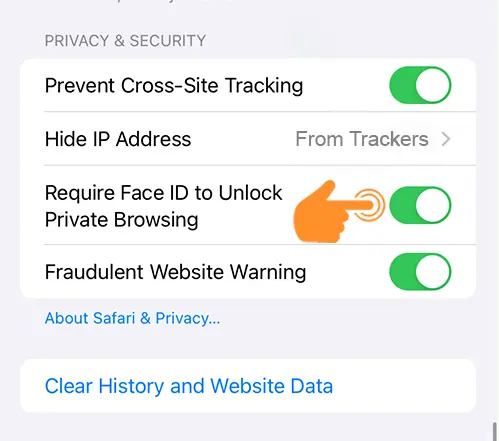
Step 3: Activate the “Require Face ID to Unlock Private Browsing” toggle.
Step 4: Launch the Safari Browser on your iPhone.
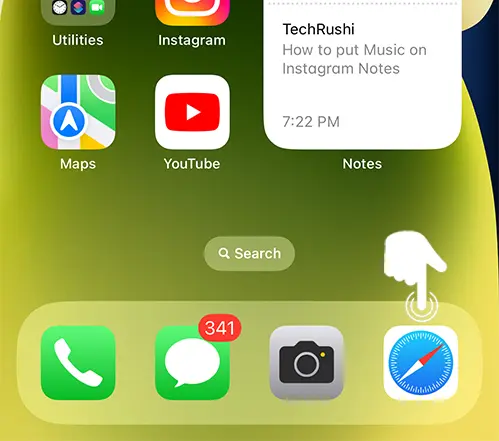
Step 5: Tap on the Tab icon located at the bottom right corner.
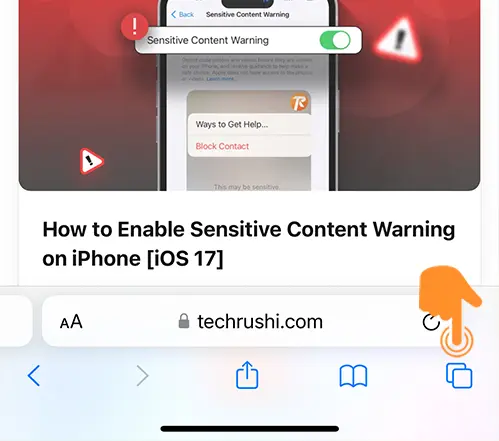
Step 6: Select the Private Tab.
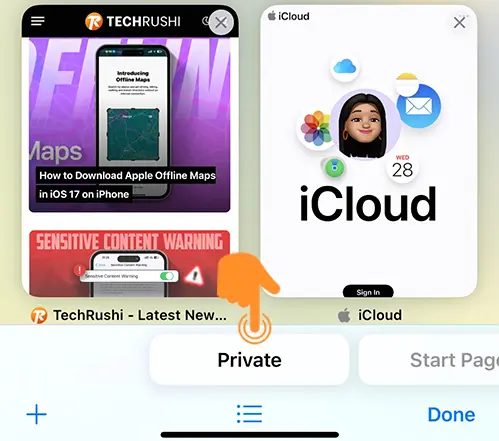
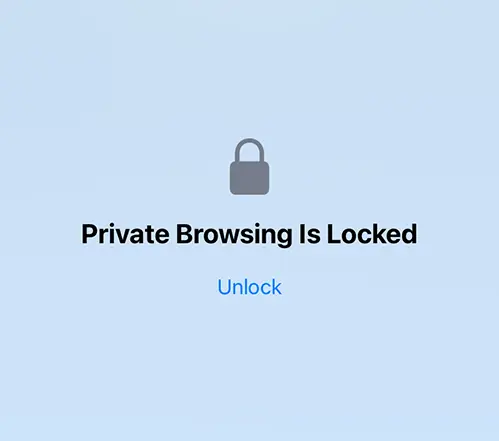
Now, when you open private tabs on your Safari, they’ll be locked and display “Private Browsing is Locked.” Tap on the “Unlock” button and verify with your Face ID to open all the private tabs.
If you wish to disable this feature, it’s a simple process. Follow the above steps and simply turn off “Private Browsing” under Safari settings.
With the new Safari Browser update, Apple also introduced Safari Profiles, Set Private Search Engine, and How to Listen to Webpages.
